Installation
This section aims to answer some of the most frequently asked questions on installing reNgine-ng.
Caution
It is recommended that you follow each steps to avoid encountering any errors/issues during the setup.
Running reNgine-ng on local machine is a very straight forward process.
You'll need docker, docker compose and make to build and run reNgine-ng on local machine.
Caution
Minimal version of Docker to use reNgine-ng is 20.10.0.
Tip
You can check your current version of Docker by running docker version
Docker provides very good documentation on how to install Docker based on your Operating System.
You have two ways to install Docker:
- Installing Docker Desktop is as easy as double clicking the
InstallDocker.msiinstaller. You can find the installation guide here. - Install Docker Engine (recommended for server/production) from the documentation here.
Caution
Not recommended
Nick Janetakis has a well written blog and a Video guide on how to install Docker on Windows Subsystem Linux. Please follow the video/blog guide on how to install Docker on WSL.
Caution
Minimal version of docker compose to use reNgine-ng is 2.2.0.
Tip
You can check your current version of docker compose by running docker compose version
If you're running Docker Desktop you can skip installing docker-compose as docker compose comes along with Docker Desktop. This applies for both Windows and MacOS users.
If you're using Linux distributions or WSL (without Docker Desktop), you will still need to install the latest docker compose and the installation steps are similar.
You can install make by:
- using the package manager of your Linux distribution (apt, dnf, yum, pacman, etc.)
- following the steps from: https://www.gnu.org/software/make/
If you are on Ubuntu/RHEL/Linux, install script is provided for quick installation.
Follow ⚡ Quick Installation instructions.
This guide is divided into several sections based on the frequently asked questions:
- Running reNgine-ng on local machine
- Running reNgine-ng on VPS
- Running reNgine-ng with your own managed database
Important
It's recommended to install reNgine on a Debian-based OS like Ubuntu or any other Debian-based distribution. reNgine-ng is heavily tested on this distribution. If you don't have a Debian-based OS, you can install a Debian-based OS on a virtual machine like VirtualBox or VMWare to run reNgine-ng on your local machine.
Quick Install reNgine-ng on Ubuntu or Kali
Installing reNgine-ng on Windows or Mac
While the installation step should be very similar across all VPS providers, an example of running reNgine-ng on DigitalOcean is provided.
How to Install reNgine-ng on DigitalOcean or any VPS
It is a good idea to run reNgine-ng using managed database, or remote database.
Find how to use reNgine-ng with managed/remote database
Tip
You can always update reNgine-ng to the latest release, using our update.sh script, unless otherwise stated in the changelog. Do check the breaking changes.
Please ensure backwards compatibility before updating reNgine-ng.
Warning
Just like the major release 2.0, reNgine-ng is not backwards compatible. This is due to many changes added in reNgine-ng and to skip worrying about django migrations and other configuration issues, sometimes (some major releases) may not be backwards compatible.
In this case, please do not update/upgrade reNgine-ng. Please perform a fresh installation.
Important
As outlined above, sometimes reNgine-ng can not be backwards compatible due to significant changes. Read below which versions are affected and what the breaking changes per version are.
Upgrade from 2.0.x to 2.1.x
Release 2.1.0 has evolved to a Docker rootless architecture. Please ensure to set correct permissions for the volumes according to the steps below.
You must use a normal account with sudo access to install reNgine-ng. If you are using root, you will be facing permission issues and reNgine-ng will not work.
- Create a new user with sudo access:
sudo adduser rengine
sudo usermod -aG sudo rengine-
Logout and login as the new user
-
From the root of your reNgine-ng directory:
- Make a backup of your
.envfile outside the directory - Stop & remove containers with
make down - Get latest release with
git checkout master && git pull - Copy
.env-distto.envand modify credentials and other settings according to your old .env file
DO NOT COPY YOUR OLD .ENV FILE sudo ./install.sh- reNgine-ng should be started successfully
After upgrade, if you encounter permission issues, check the wiki section Support, it will help you fix the issues. If not, come and discuss with us on Discord.
- Make a backup of your
Upgrade from 2.1.0 to >= 2.1.1
Updating is as simple as running the following command:
-
Go to your reNgine-ng root directory and run the update script.
cd scripts sudo ./update.sh -
If your version is up to date you will see the following screen and update will finished
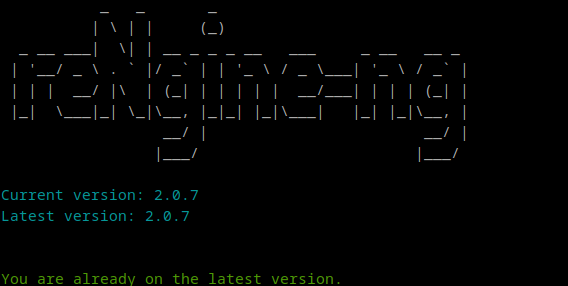
-
If not up to date you will see the following screen
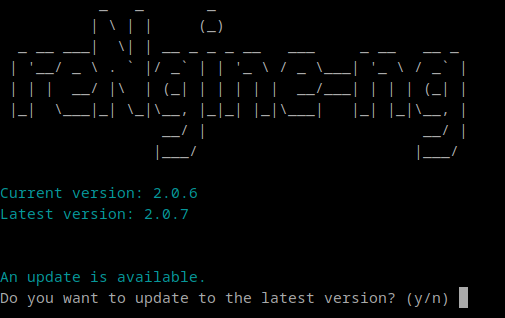
-
After you accept, you will be prompted to choose the type of update : prebuilt images or build from source
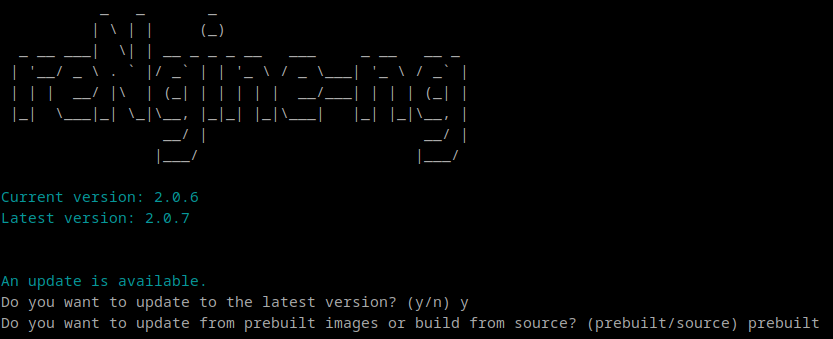
-
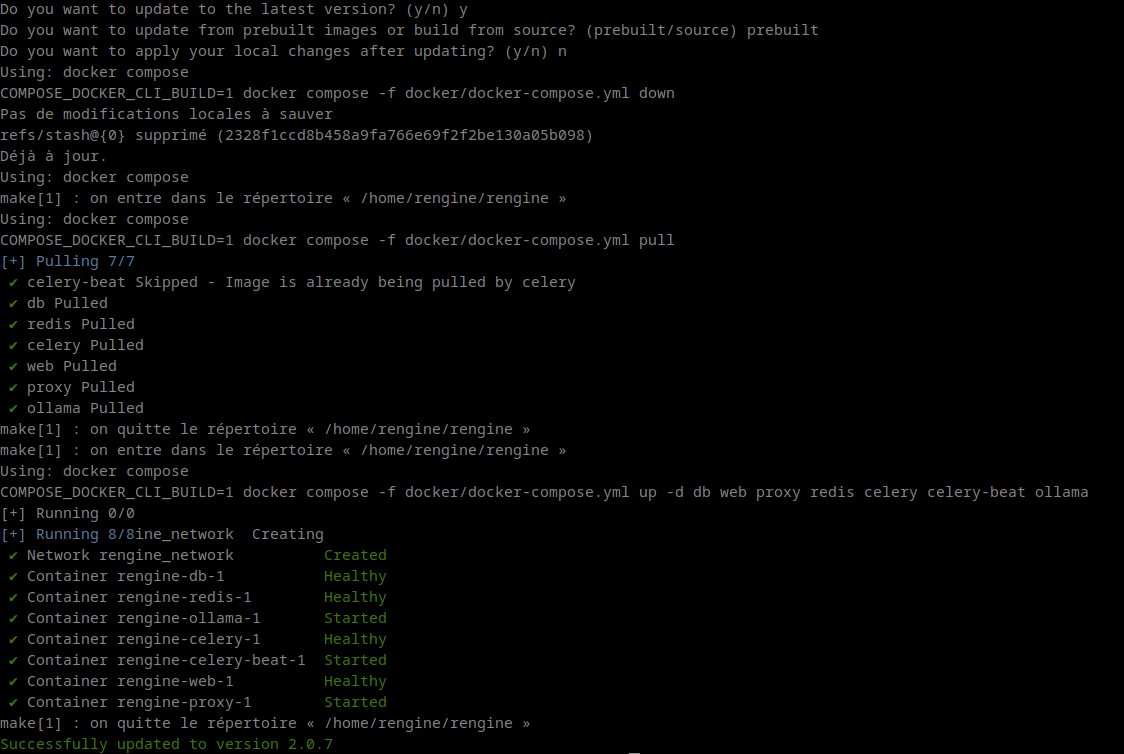
Then, lastly, you will be prompted to re-apply your local changes after update.
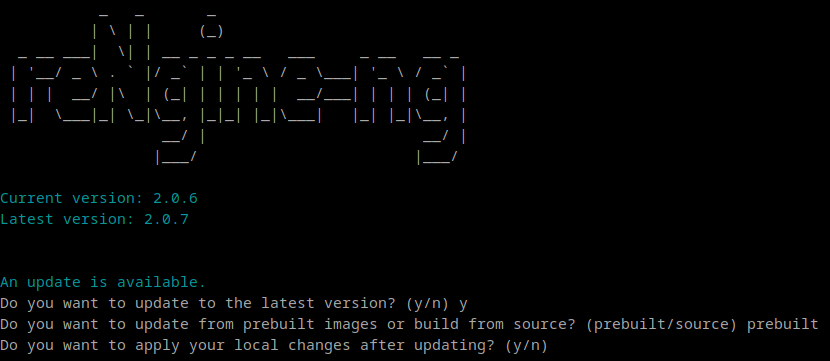
-
Update process starts, if successful you will see the following screen
Uninstall script for reNgine-ng is provided with project.
Caution
Uninstall script could delete all the docker containers, images, volumes, networks, etc.
Make sure to backup your data before completeley uninstalling reNgine-ng.
Removing containers and images will not be a problem, but removing volumes will cause all data to be lost.
-
Go to your reNgine-ng root directory and run the uninstall script.
cd scripts sudo ./uninstall.sh -
You will be prompted to confirm the uninstallation

-
Uninstallation process starts, if successful you will see the following screen
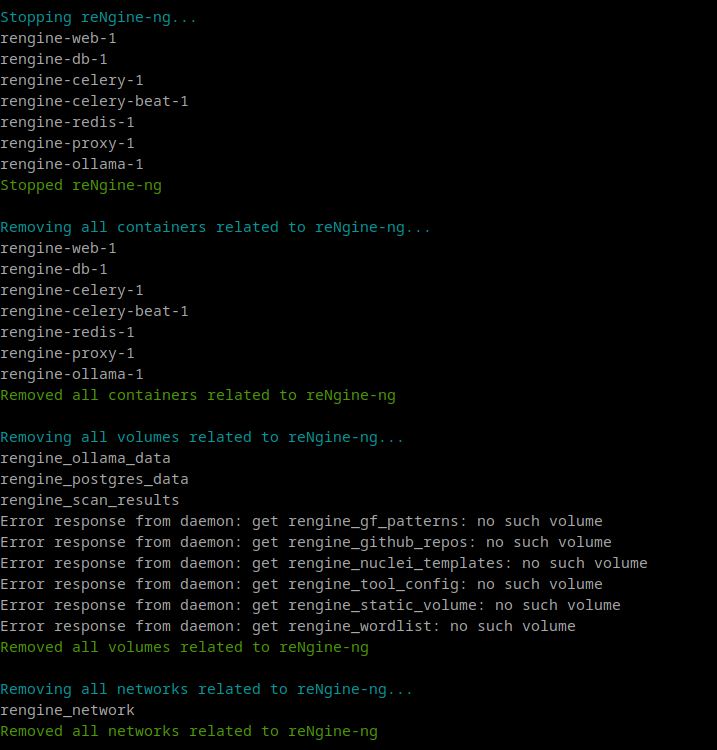
- Containers will be stopped
- Images will be removed
- Volumes will be removed
- Networks will be removed
- All data will be lost
-
Uninstallation process will finish, if successful you will be prompted to delete reNgine-ng Docker images

Note
This step ask you if you want to remove docker images.
Removing images will free up some space, but if you want to install reNgine-ng again, you will have to download or build the images again.
-
If successful you will see

-
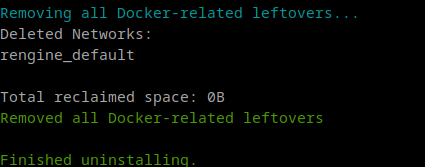
Then you will be prompted to remove all Docker-related leftovers

Caution
Be very careful with this step, because it will delete all docker-related leftovers.
If it's not a VM dedicated to reNgine-ng, you will lose ALL YOUR DOCKER DATA
-
Uninstallation process will finish, if successful you will see the following screen
Thank you for using reNgine-ng.