devon4j creating a project
In this chapter you will learn to create a workspace and create a project using the CLI or the GUI. When using devon, each project has its own workspace and can be edited by different instances of the IDE, e.g. eclipse.
-
Go to your Devon-dist. folder. Open
console.bat -
Execute:
cd workspaces -
Execute:
devon workspace create -workspace MyWS -
If the job is finished, use CTRL+C to and answer y to the question
-
Execute:
cd MyWS -
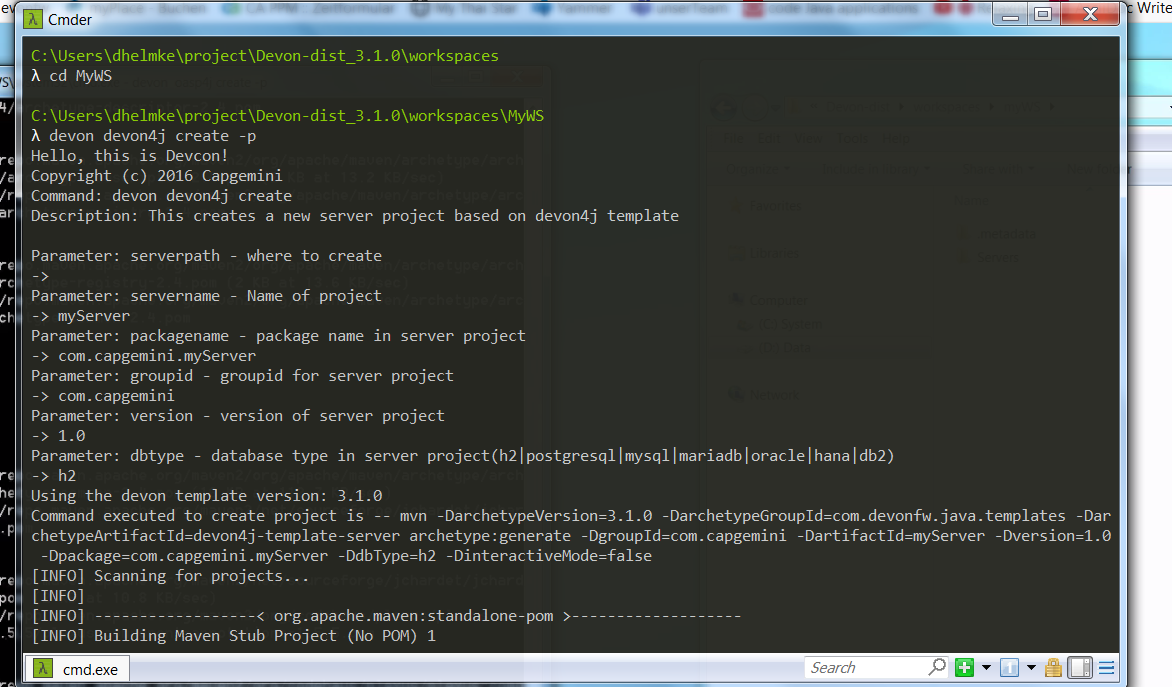
Execute:
devon devon4j create –pand insert the following entries.-
serverpath: hit Enter. (So it will be the current directory). -
servername:myServer(or any name you like). -
packagename:com.capgemini.myServer -
groupid:com.capgemini -
version: 1.0 -
dbtype: h2
-
-
Execute:
update-all-workspaces.batfrom your devon-dist. folder. -
Execute:
cd MyServer -
Execute:
mvn install(installs the Maven project). -
Execute: devon devon4j run –port 8081
|
ℹ️
|
There are two commands |
We see later, how to access these server. For now just use ctr+c to stop it from running.
-
Open:
console.bat -
Go to your
workspacesdirectory. -
Execute :
devcon -g -
The GUI should open. Open
workspacesselect "create".

-
Insert:
MyProject. Click "Start".

-
Click "back".
-
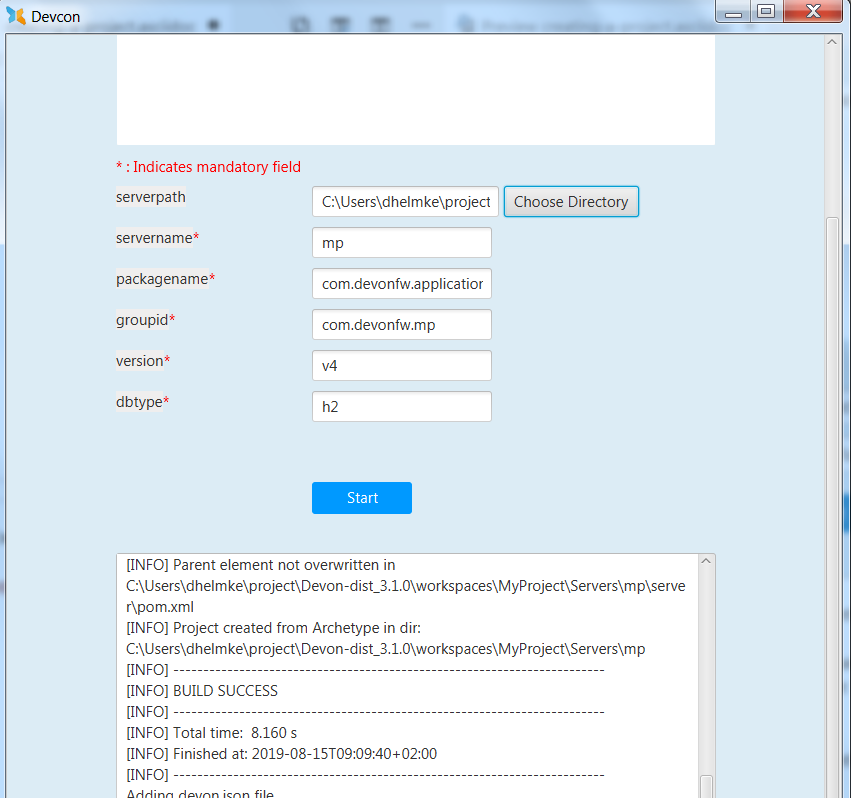
Open "devon4j". Select "create".
-
serverpath:../MyProject/Servers -
servername: mp -
packagename: com.devonfw.application.mp -
groupid: com.devonfw.mp -
version: v4 -
dbtype: h2
-
-
Press: "Start"
-
From you devon-dist. folder execute :
update-all-workspaces.bat -
From your devon-dist. folder execute:
eclipse-jumpthequeue.bat -
Eclipse instance should open.
Now you know how to create a project with devon/devcon.
|
ℹ️
|
You can also create new projects:
|
Next Chapter: JumpTheQueue Design
This documentation is licensed under the Creative Commons License (Attribution-NoDerivatives 4.0 International).
